For developers
Building a Next.js Blog with Contensa in Under 30 Minutes
A step-by-step tutorial for building a fully functional Next.js blog powered by Contensa's GraphQL API — from workspace setup to deployed site.
•
12 min read
A comprehensive guide to integrating Contensa's powerful GraphQL API into your applications with real-world examples and code snippets.
Alex Rodriguez
Senior Software Engineer

GraphQL has revolutionized how we build and consume APIs. In this guide, we'll explore how to leverage Contensa's GraphQL API to build dynamic, performant applications.
GraphQL offers several advantages over traditional REST APIs:
bashnpm install @apollo/client graphql
typescriptimport { ApolloClient, InMemoryCache, createHttpLink } from '@apollo/client';
import { setContext } from '@apollo/client/link/context';

const httpLink = createHttpLink({
  uri: 'https://api.contensa.io/graphql',
});

const authLink = setContext((_, { headers }) => {
  return {
    headers: {
      ...headers,
      authorization: \`Bearer \${process.env.CONTENSA_API_KEY}\`,
    }
  };
});

const client = new ApolloClient({
  link: authLink.concat(httpLink),
  cache: new InMemoryCache(),
});
typescriptimport { gql, useQuery } from '@apollo/client';

const GET_POSTS = gql`
  query GetPosts($limit: Int, $offset: Int) {
    blogPosts(limit: $limit, offset: $offset) {
      items {
        id
        title
        slug
        excerpt
        publishedDate
        author {
          name
          avatar
        }
      }
      total
      hasMore
    }
  }
`;

function BlogList() {
  const { loading, error, data } = useQuery(GET_POSTS, {
    variables: { limit: 10, offset: 0 },
  });

  if (loading) return <Skeleton />;
  if (error) return <Error message={error.message} />;

  return (
    <div>
      {data.blogPosts.items.map(post => (
        <BlogCard key={post.id} post={post} />
      ))}
    </div>
  );
}
graphqlquery GetFilteredPosts(
  $category: String
  $tags: [String!]
  $search: String
) {
  blogPosts(
    filter: {
      category: { eq: $category }
      tags: { in: $tags }
      title: { contains: $search }
    }
    sort: { publishedDate: DESC }
  ) {
    items {
      id
      title
      category
      tags
    }
  }
}
Create and update content programmatically:
typescriptconst CREATE_POST = gql`
  mutation CreatePost($input: BlogPostInput!) {
    createBlogPost(input: $input) {
      id
      title
      slug
      publishedDate
    }
  }
`;

const [createPost, { loading }] = useMutation(CREATE_POST);

const handleSubmit = async (formData) => {
  await createPost({
    variables: {
      input: {
        title: formData.title,
        content: formData.content,
        authorId: formData.authorId,
      }
    }
  });
};
typescriptconst cache = new InMemoryCache({
  typePolicies: {
    Query: {
      fields: {
        blogPosts: {
          keyArgs: ['filter', 'sort'],
          merge(existing, incoming, { args }) {
            const merged = existing ? existing.items.slice(0) : [];
            const offset = args?.offset || 0;
            for (let i = 0; i < incoming.items.length; ++i) {
              merged[offset + i] = incoming.items[i];
            }
            return {
              ...incoming,
              items: merged,
            };
          },
        },
      },
    },
  },
});
Use
@clientgraphqlquery GetPost($id: ID!) { post(id: $id) { id title content isBookmarked @client } }
typescriptconst POST_UPDATED = gql`
  subscription OnPostUpdated($id: ID!) {
    postUpdated(id: $id) {
      id
      title
      content
      updatedAt
    }
  }
`;

function LivePost({ id }) {
  const { data, loading } = useSubscription(POST_UPDATED, {
    variables: { id },
  });

  return <Article post={data?.postUpdated} />;
}
Implement robust error handling:
typescriptimport { onError } from '@apollo/client/link/error';

const errorLink = onError(({ graphQLErrors, networkError }) => {
  if (graphQLErrors) {
    graphQLErrors.forEach(({ message, locations, path }) => {
      console.error(
        \`[GraphQL error]: Message: \${message}, Location: \${locations}, Path: \${path}\`
      );
    });
  }
  if (networkError) {
    console.error(\`[Network error]: \${networkError}\`);
  }
});
GraphQL provides a powerful, flexible way to interact with your Contensa content. By following these patterns and best practices, you can build fast, maintainable applications.
A step-by-step tutorial for building a fully functional Next.js blog powered by Contensa's GraphQL API — from workspace setup to deployed site.
Learn how to use Contensa's webhook system to trigger real-time builds, sync content to external systems, and automate your content workflow.
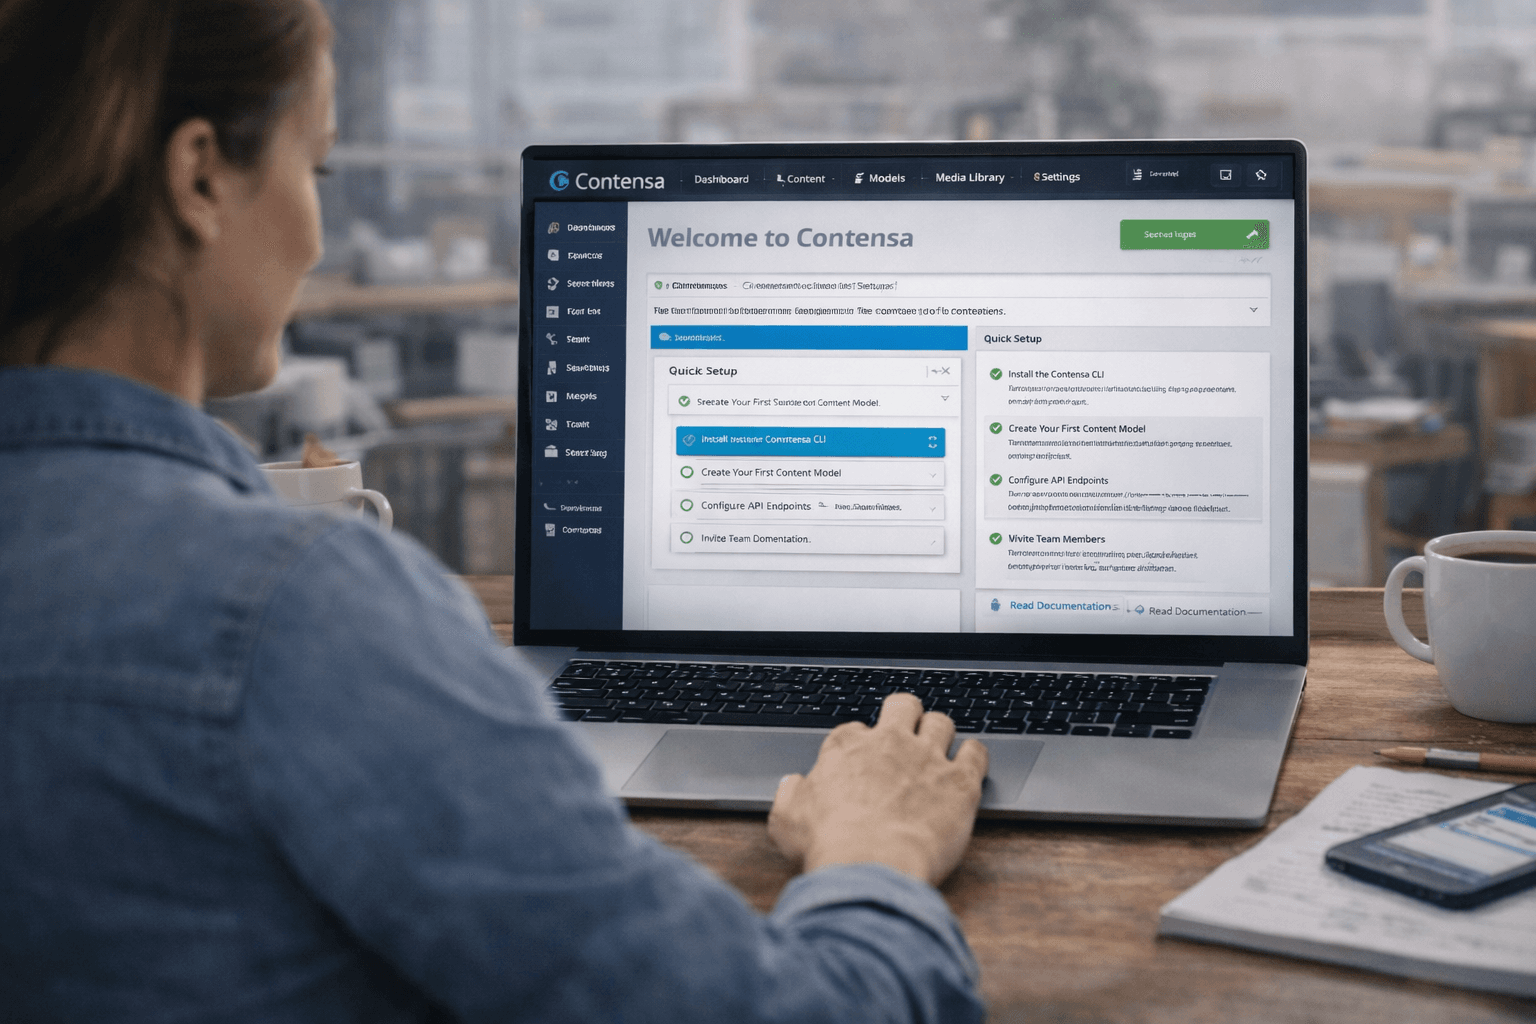
Learn how to set up Contensa CMS in minutes with this step-by-step guide covering installation, configuration, and fetching your first content.